BuddyX Pro theme allows you to set the BuddyPress User menu for your website. This menu needs BuddyPress to be installed and activated on your website.
Defining a Menu
You must define a menu before you can add items to it. Follow the below steps to define a menu:
- Login to the WordPress Dashboard.
- From the ‘Appearance’ menu on the left-hand side of the Dashboard, select the ‘Menus’ option to bring up the Menu Editor.
- Select Create a new menu at the top of the page.
- Enter a name for your new menu in the Menu Name box.
- Click the Create Menu button.
Your new custom menu has now been defined.
Add Items to a Menu
You can add different link types to your menu; these are split between panes left of the menu you’re currently editing.

- Locate the pane entitled Pages.
- Within this pane, select the View All link to bring up a list of all the currently published Pages on your site.
- Select the Pages that you want to add by clicking the checkbox next to each Page’s title.
- Click the Add to Menu button located at the bottom of this page to add your selection(s) to the menu that you created in the previous step.
- Click the Save Menu button once you’ve added all the menu items you want.
Your custom menu has now been saved.
Note: The Screen Options allow you to choose which items you can use to add to a menu. Certain items, like Tags, are hidden by default.
Set the User Menu
Once the menu items are added to the menus, it’s time to define the menu location.
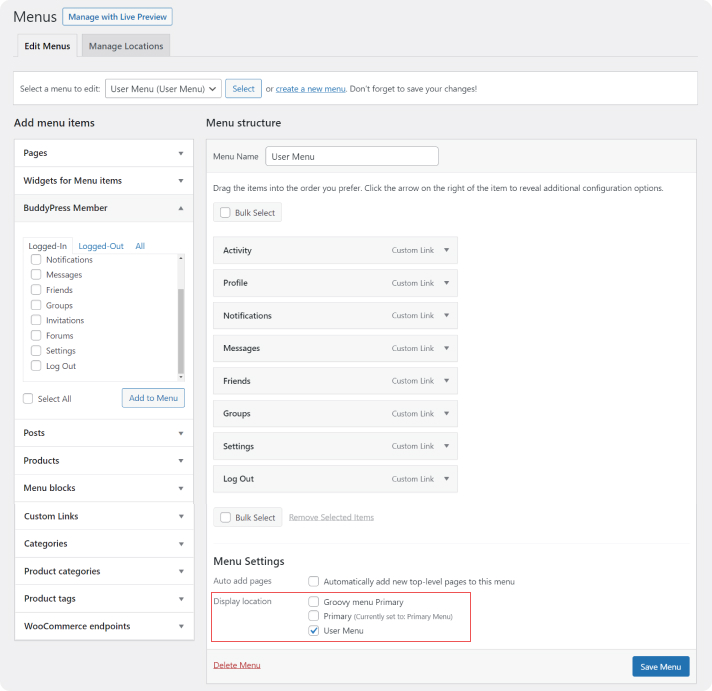
- Scroll to the bottom of the menu editor window.
- In the section titled Display Locations, click the check box for the location User Menu.
- Click the Save menu once you’ve made your selection.